

Safety Isn’t a Box We Check—It’s How We Operate
July 24, 2025
Hey There, Chicagoland and NWI Friends — Let’s Talk Phone Systems
July 25, 2025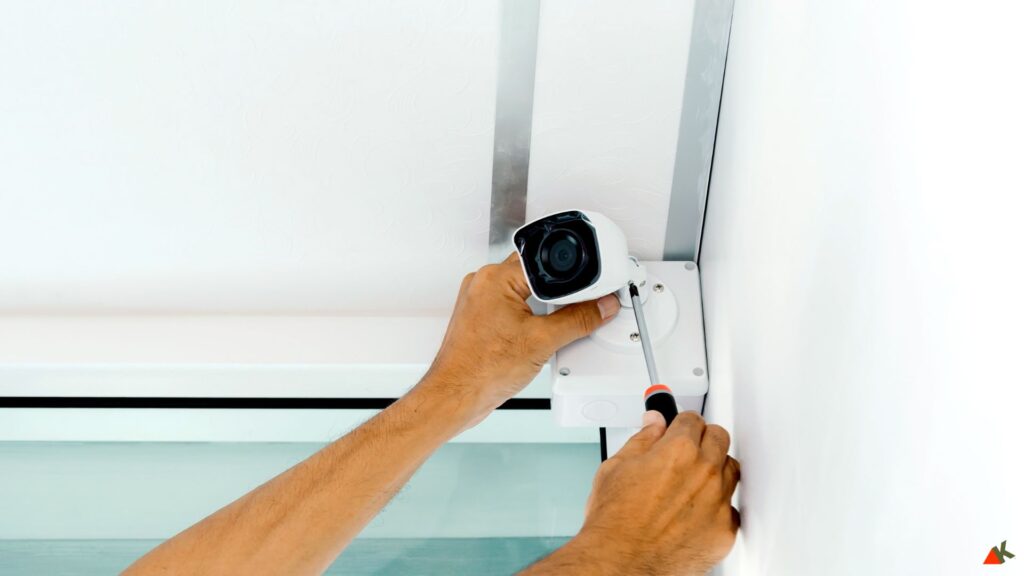
Installing a CCTV system is one of the smartest steps you can take to protect your business—your space, your people, and your assets. Whether you’re operating in Indiana, Chicago, or South Michigan, reliable surveillance doesn’t just deter trouble—it keeps you connected and informed.
This walkthrough covers how to install both IP and analog CCTV cameras, including how to terminate cable ends, configure your system for remote access, and estimate setup time per camera.
Step 1: Plan Your CCTV System
Start by mapping out the areas that need coverage. Think about entries, exits, blind spots, and high-value zones. Consider lighting, angles, and obstructions—and don’t forget to plan for future add-ons.
📍 Tip for Midwest installs: Outdoor cameras need to be weather-rated for Indiana winters and Chicago storms.
Step 2: Choose Your Camera Type
IP Cameras
- Higher resolution
- Remote access
- Connect via Ethernet
Analog Cameras
- More affordable
- Easier to set up
- Connect via coax
Step 3: Gather Your Gear
Here’s your install checklist:
- IP or analog cameras
- NVR (IP) or DVR (analog)
- Ethernet or coaxial cable
- Power supplies
- Monitor, mouse
- Mounts, screws, drill
- RJ45 or BNC connectors
Step 4: Run the Cable
- Plan cable routes away from electrical interference
- Measure & cut to length
- Use conduit for exposed or outdoor runs
Step 5: Mount the Cameras
- Choose secure, strategic locations
- Drill and mount
- Angle for maximum visibility and no blind spots
Step 6: Terminate the Cable Ends
Ethernet (IP Cameras)
- Strip and align wires to T568B
- Insert into RJ45 connector
- Crimp securely
Coax (Analog Cameras)
- Strip outer jacket and shielding
- Insert into BNC connector and twist to lock
Step 7: Connect to NVR or DVR
- IP: Ethernet from each camera to the NVR
- Analog: Coax from each camera to the DVR
- Supply power (PoE or standalone)
Step 8: Configure the System
- Hook up monitor via HDMI or VGA
- Power on and launch the setup wizard
- Configure zones, motion alerts, and recording schedules
Step 9: Enable Remote Viewing
- Connect NVR to your router
- Forward required ports (usually 80 & 554)
- Optional: Set up Dynamic DNS
- Download the mobile app and link your system
Need help? We’re here. 844-KOMMVIA

